All-grain brewing is the natural next step after extract kits, and it is more accessible than it looks. Once you understand what each stage is doing chemically, the process stops feeling like guesswork and starts feeling like craft. This guide covers a standard 20-litre batch using a single-vessel mash setup — the kind most home brewers in Central Europe start with.
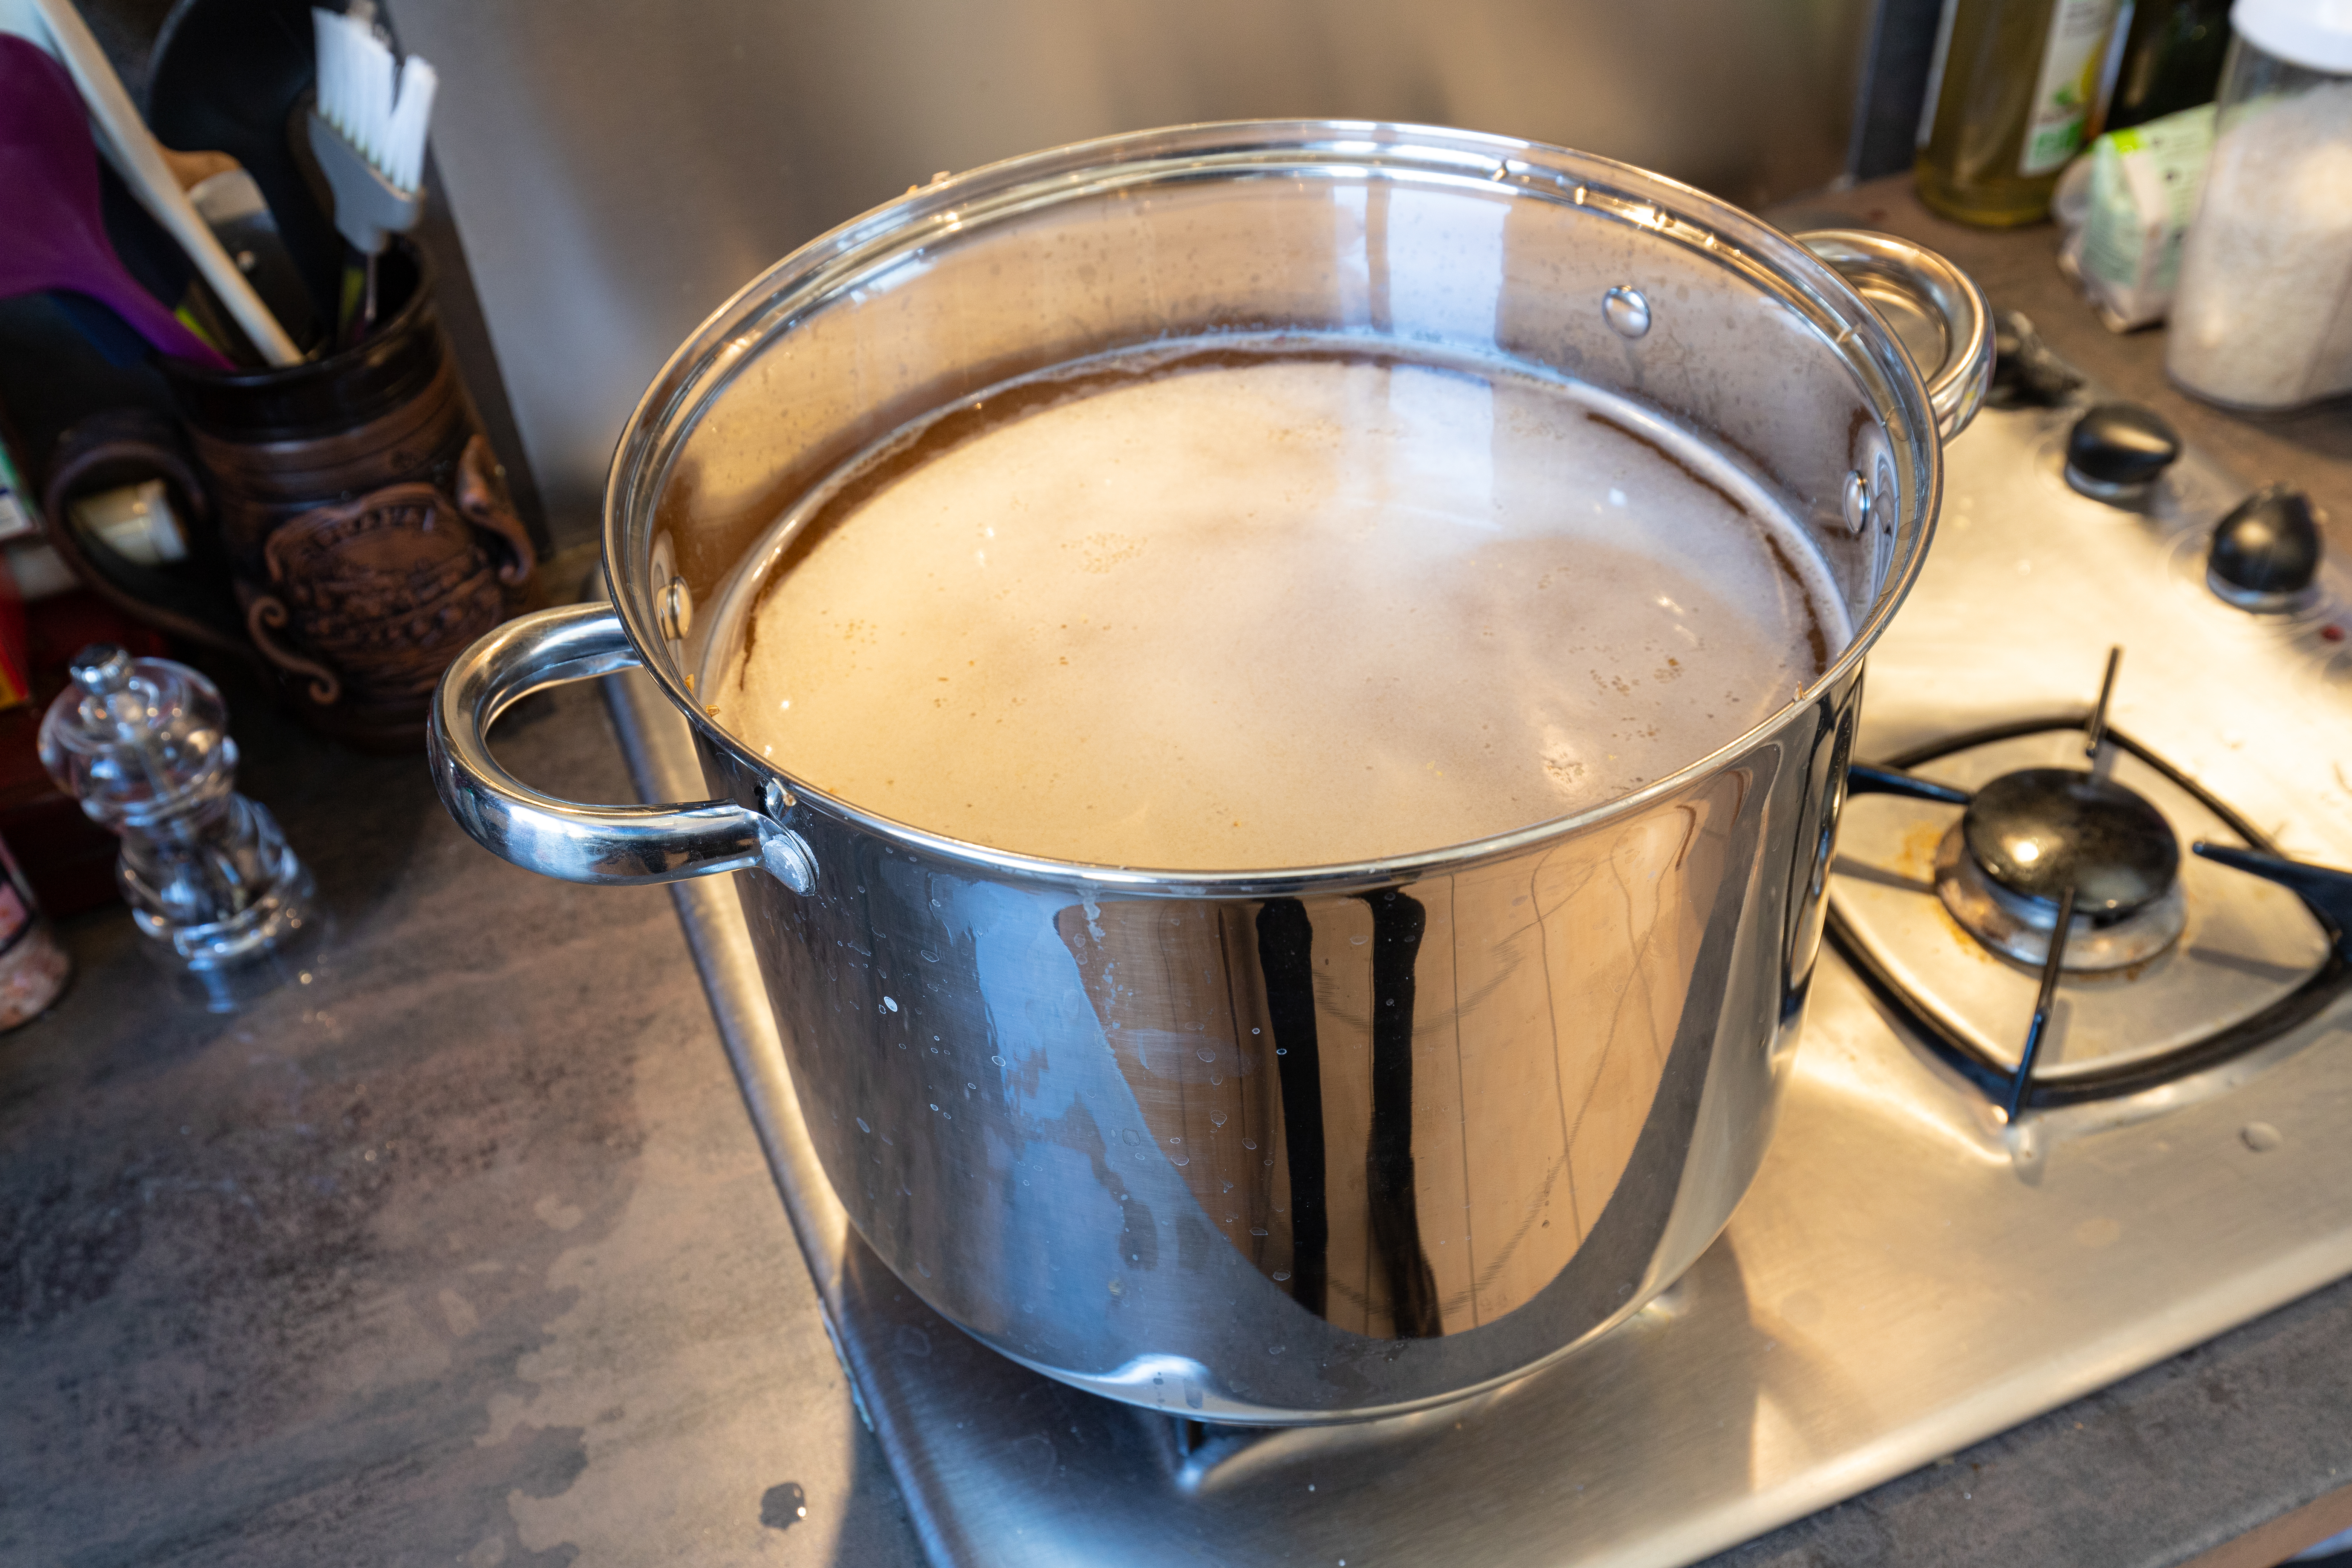
Boiling wort in a home kettle. The rolling boil is essential for sterilisation and isomerisation of hop alpha acids.
Before You Start: Water and Grain Bill
Czech brewing tradition places enormous emphasis on water chemistry — and for good reason. Plzen's water is exceptionally soft, which is why the pilsner style was born there. Hard water suits dark ales; soft water suits pale lagers. If you are on a municipal supply, check your local water report. For a Czech-style pale lager, aim for calcium below 50 ppm, bicarbonate below 50 ppm, and a mash pH of 5.3–5.4.
For a straightforward pale ale to start with, use 4–4.5 kg of Pilsner or pale malt as your base, and 200–300g of crystal malt (such as CaraMunich 20) for body and colour. Total grain bill depends on your system's efficiency — most beginners achieve 65–72%.
OG measures the dissolved sugars in your wort before fermentation. A typical session ale targets 1.040–1.050 OG. A Czech pilsner is usually 1.044–1.056 (11–14 Plato in Czech measurement).
Stage 1: Mashing
Heat your strike water to roughly 72°C before adding grain — the grain will drop the temperature to your target mash temperature. For most ales, mash at 65–67°C for 60 minutes. This temperature range activates beta-amylase enzymes most effectively, producing a more fermentable wort and a drier finished beer. Mashing at 68–70°C gives you more unfermentable dextrins, resulting in a fuller body.
Hold the temperature as steadily as you can. A variance of 2°C is acceptable; more than that and you risk poor conversion. Insulate your mash vessel with blankets if needed. Stir every 15 minutes to prevent hot spots.
Stage 2: Lautering and Sparging
After mashing, you need to separate the sweet wort from the spent grain. Vorlauf (recirculate the first few litres) until the wort runs clear, then collect it into your kettle. Sparge — slowly pour hot water (76°C) over the grain bed — to rinse out remaining sugars. Stop when you have roughly 25–26 litres of wort in the kettle (you will lose some to evaporation during the boil).

Hops being added to boiling wort. Timing of additions determines whether you get bitterness, flavour, or aroma.
Stage 3: The Boil and Hop Additions
Bring the wort to a vigorous rolling boil. Boil for 60 minutes minimum — 90 minutes if you are using a significant amount of Pilsner malt, which contains more dimethyl sulfide (DMS) precursors that need to volatilise off.
Hop additions work like this: bittering hops go in at the start of the boil (60 minutes), where the long boiling time isomerises their alpha acids and extracts bitterness. Flavour hops go in at 15–20 minutes. Aroma hops at 5 minutes or at flameout. For a Czech-style pilsner, use Saaz hops for all three additions: 20g at 60 minutes, 20g at 15 minutes, 30g at flameout.
Czech pilsner typically targets 30–45 IBU with a very clean, rounded bitterness from Saaz. American pale ales land at 30–50 IBU with a more assertive character from hops like Cascade or Centennial.
Stage 4: Cooling and Yeast Pitching
After the boil, cool your wort as quickly as possible. Slow cooling risks DMS formation and bacterial contamination. An immersion chiller or plate chiller can bring 20 litres from boiling to 18°C in 15–20 minutes. Transfer the chilled wort to a sanitised fermentation vessel, leaving the hop pellet sludge behind.
Pitch your yeast at the correct temperature. Ale yeasts typically ferment at 18–22°C. Czech lager yeast (such as Wyeast 2001 Urquell or SafLager W-34/70) ferments at 8–12°C and requires temperature-controlled fermentation — a fridge with a controller is the simplest solution.
Stage 5: Fermentation and Conditioning
Active fermentation will begin within 12–24 hours and typically lasts 3–7 days for ales, 2–3 weeks for lagers. You will see CO&sub2; bubbling through the airlock. When bubbling slows to once every minute or more, take a gravity reading. When it matches your target final gravity (FG) on two consecutive days, fermentation is complete.
Do not rush conditioning. Ales benefit from at least 1–2 weeks in the fermenter after active fermentation to clean up off-flavours like diacetyl and acetaldehyde. Lagers need 4–6 weeks of cold conditioning (lagering) at 1–4°C to develop their characteristic clean, crisp character.

End of fermentation stage in a glass carboy with an airlock. The beer is clearing as yeast settles out.
Packaging: Bottles or Keg
For bottle conditioning, add 6–8g of table sugar per litre (dissolved in a small amount of boiled water), mix gently into the beer, and bottle immediately. Cap and leave at room temperature for 2 weeks before chilling. For kegging, carbonate directly with CO&sub2; at 10–14 PSI at 4°C over 48–72 hours, or use a burst carbonation method.
Common First-Batch Mistakes
- Poor temperature control during mashing — leads to incomplete conversion and low efficiency
- Insufficient cooling speed — risks DMS off-flavours in finished beer
- Pitching too warm — stresses yeast, produces fusel alcohols and harsh flavours
- Not sanitising properly — the most common cause of ruined batches
- Rushing packaging — bottling before fermentation is complete causes over-carbonation or exploding bottles
John Palmer's How to Brew (4th edition) is the definitive beginner-to-intermediate reference. The full first edition is available free at howtobrew.com. The BJCP Style Guidelines at bjcp.org describe every recognised beer style in detail.